Amazon Data Firehose - Hands On
Hands On
Step 1: Set Up the Streaming Pipeline Core
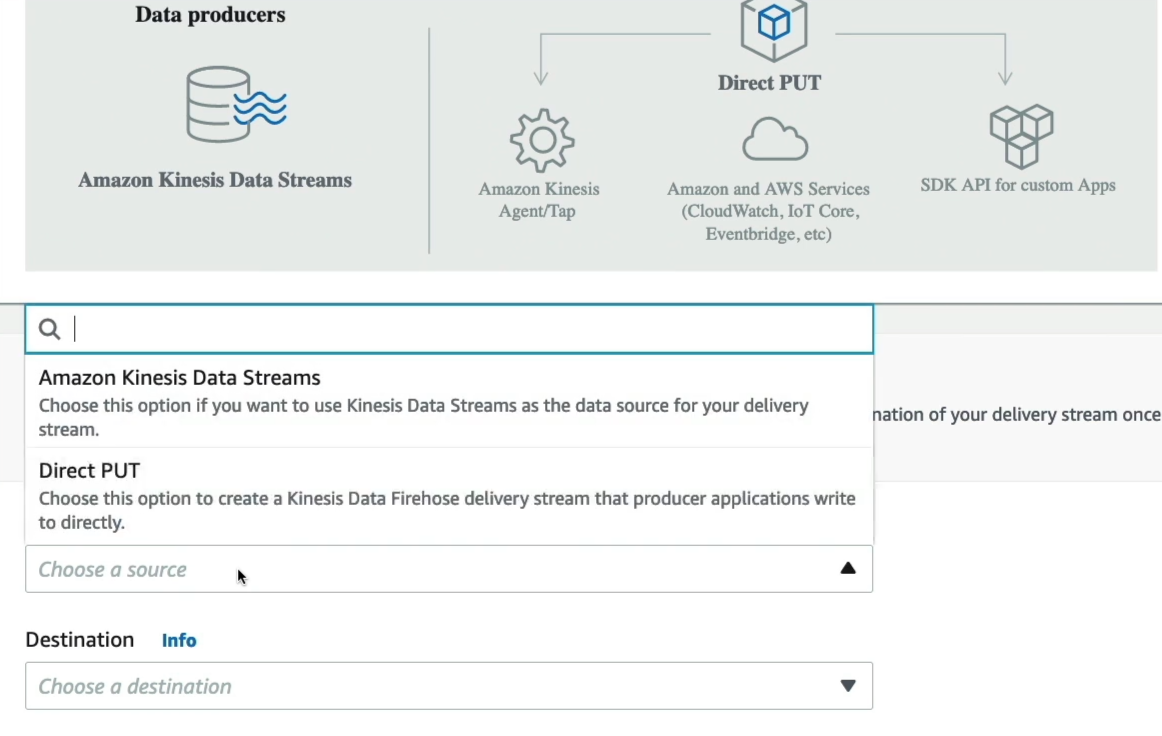
- Navigate to the Amazon Data Firehose Dashboard, click Create Firehose stream.
- Select Amazon Kinesis Data Streams as the source protocol type.
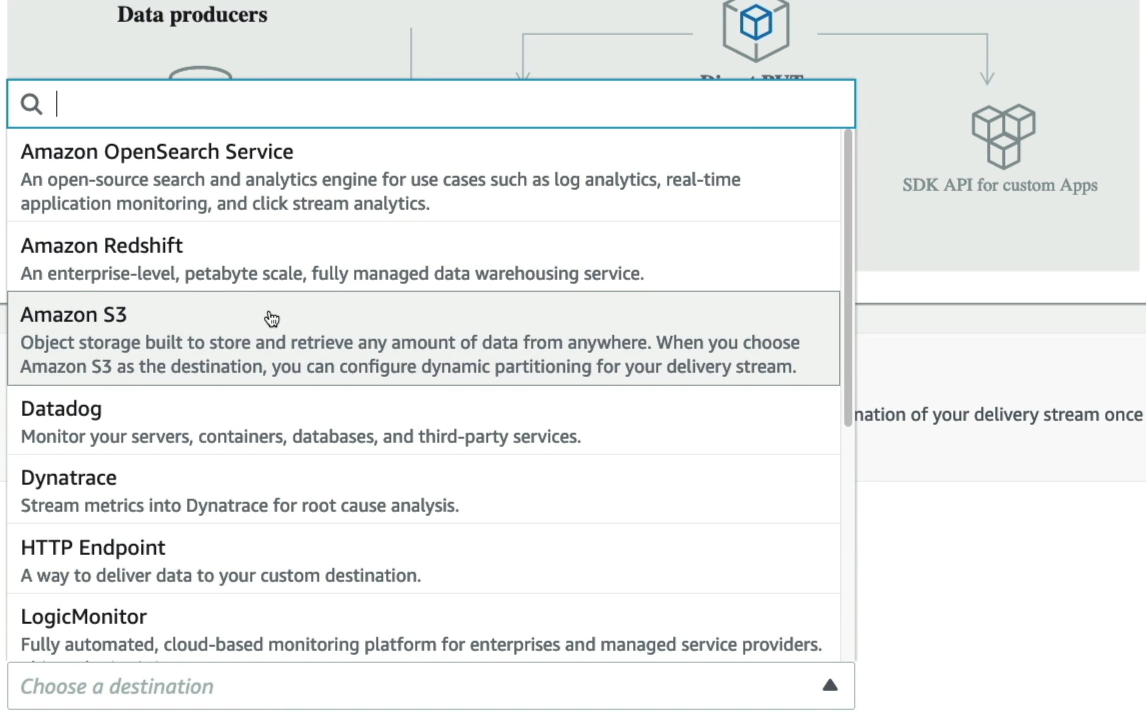
- Select Amazon S3 as your final destination target.
Step 2: Bind the Source Stream
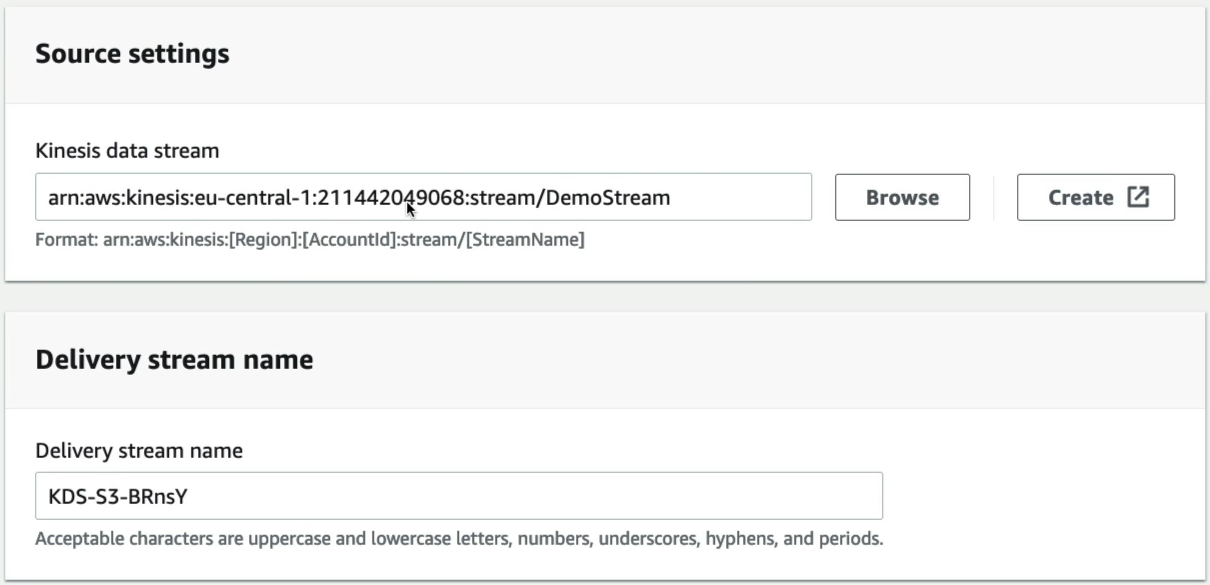
- In the source configuration box, browse and select your active stream (e.g.,
DemoStream). - Leave the automatically generated delivery stream name as default.
Step 3: Skip Optional ETL Transformation Steps
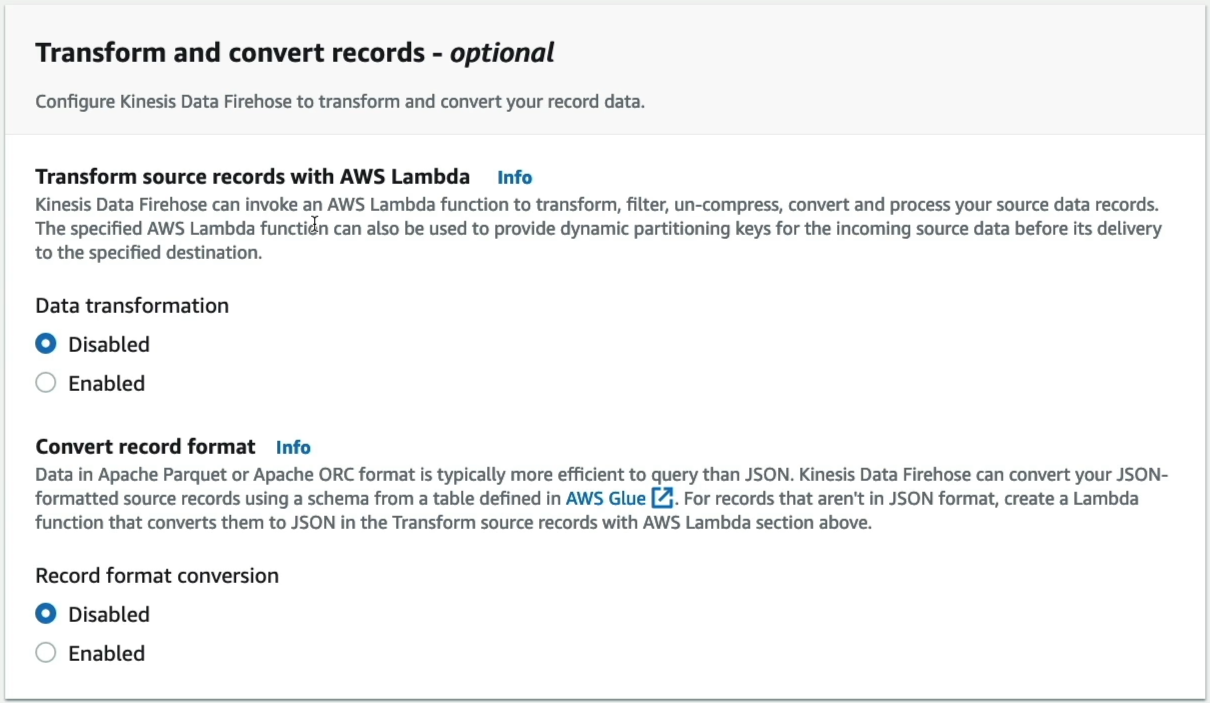
- Leave Transform source records with Lambda disabled. (Note: This is where you would hook a Lambda function to dynamically mutate, enrich, or format raw data vectors before landing).
- Leave Convert record format turned off.
Step 4: Designate Target Data Lake Storage
- Scroll down to Destination settings and select your target bucket (e.g.,
demo-firehose-stephane-v3).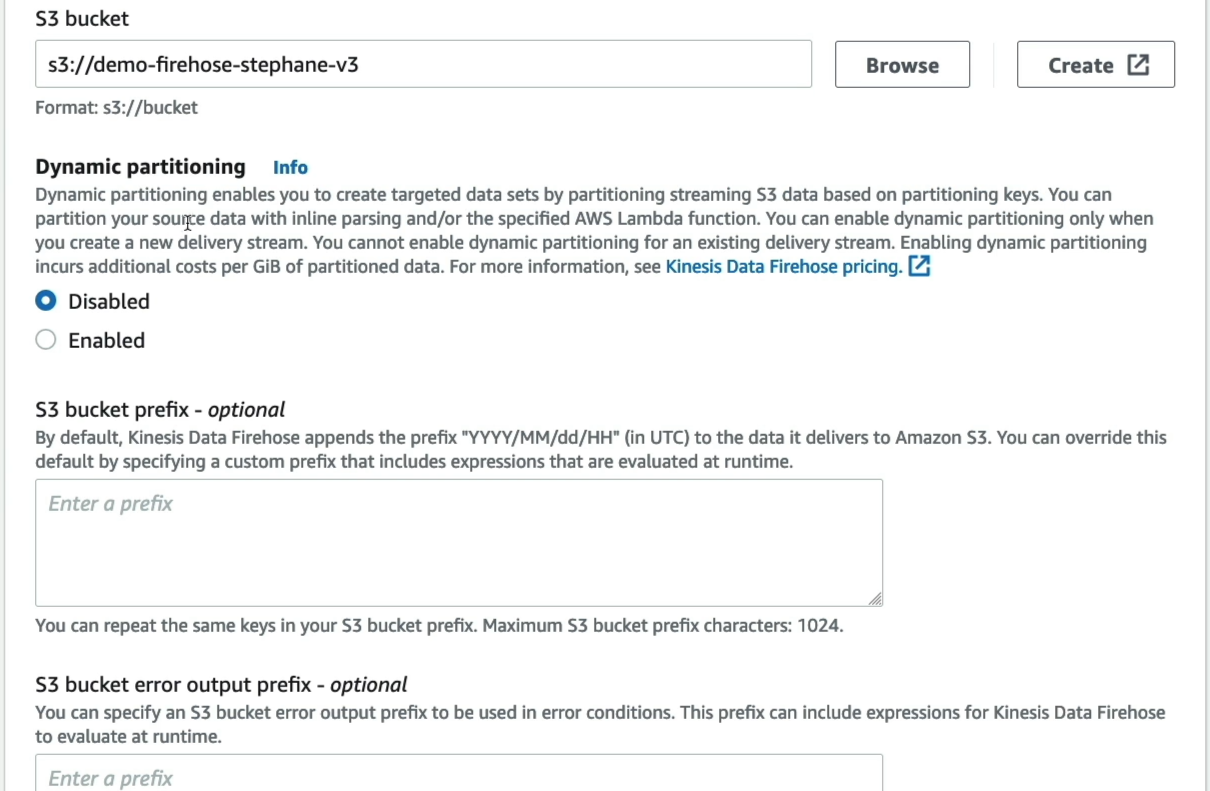
Step 5: Adjust Buffer Hints for Maximum Velocity
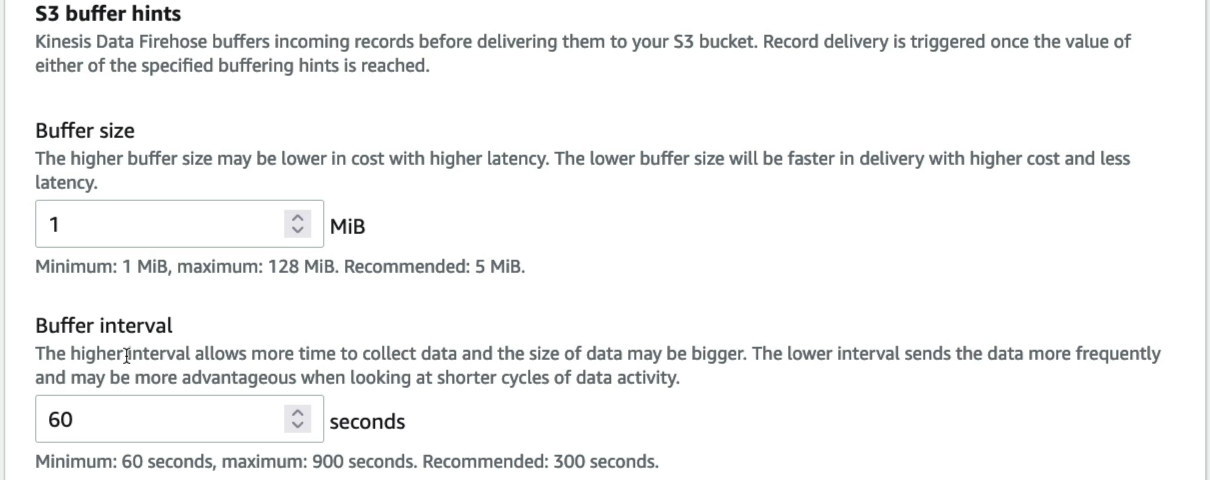
- Under Buffer hints, compression and encryption, change the defaults to match your lab speed requirements:
- Buffer size: Set to 1 MB (the structural absolute minimum parameter).
- Buffer interval: Set to 60 seconds (the structural absolute minimum timeframe).
- Keep compression and encryption disabled to view raw string lines effortlessly later.
Step 6: Authorize Service Permissions & Provision
- Check the advanced settings to ensure the console automatically generates an optimized IAM Role to handle cross-service read/write streams.
- Click Create delivery stream and wait for the state indicator to flip to Active.
Step 7: Produce New Data Packets
- Boot up AWS CloudShell and run consecutive put-record commands to push fresh tracking text strings into your Kinesis Data Stream:
aws kinesis put-record --stream-name DemoStream --partition-key user1 --data "user signup" --cli-binary-format raw-in-base64-out
aws kinesis put-record --stream-name DemoStream --partition-key user1 --data "user login" --cli-binary-format raw-in-base64-out
aws kinesis put-record --stream-name DemoStream --partition-key user1 --data "user logout" --cli-binary-format raw-in-base64-out
Step 8: Cross the Time Boundary & Verify
- Wait at least 60 seconds to force the Firehose internal accumulation vault to cross its timeout flush trigger threshold.
- Head over to your Amazon S3 Bucket, drill down through the automated date partition folders (
YYYY/MM/DD/HH), and pull your newly concatenated.txtlog file!
KDS-S3-xxx.txt
user signupuser loginuser logout
Step 9: Absolute Sandbox Teardown ⚠️
- Go to your firehose stream and hit Delete.
- Go back to Kinesis Data Streams and Delete
DemoStream. Leaving provisioned shards active will steadily drain your AWS budget hours
Exam Tips
- The File Concatenation Behavior: Notice how our text editor showed all three separate
put-recordpayloads combined inside a single text file block. This is core Firehose behavior. Unlike SQS which isolated items individually, Firehose concatenates strings together without a delimiter by default during a buffer block window. - The IAM Trust Requirement: If an exam scenario says: "Your Firehose stream is active, and CloudShell producers report successful writes, but zero objects are landing in the target S3 bucket" look for the option stating the Firehose IAM execution role carries a broken or misconfigured trust policy preventing it from calling
s3:PutObjecton the target directory path.