CodeArtifact - Hands On
Stephane's lab exposes exactly how CodeArtifact intercepts standard developer dependency calls, caches packages inside a private corporate perimeter, and manages global namespace governance.
Hands On
🏛️ 1. Orchestrating the Shared Domain & Repository
- Launch the Workspace: Open up the AWS CodeArtifact console dashboard ──► click Create repository.
- Configure the Repo Identity: Name your primary target entry point
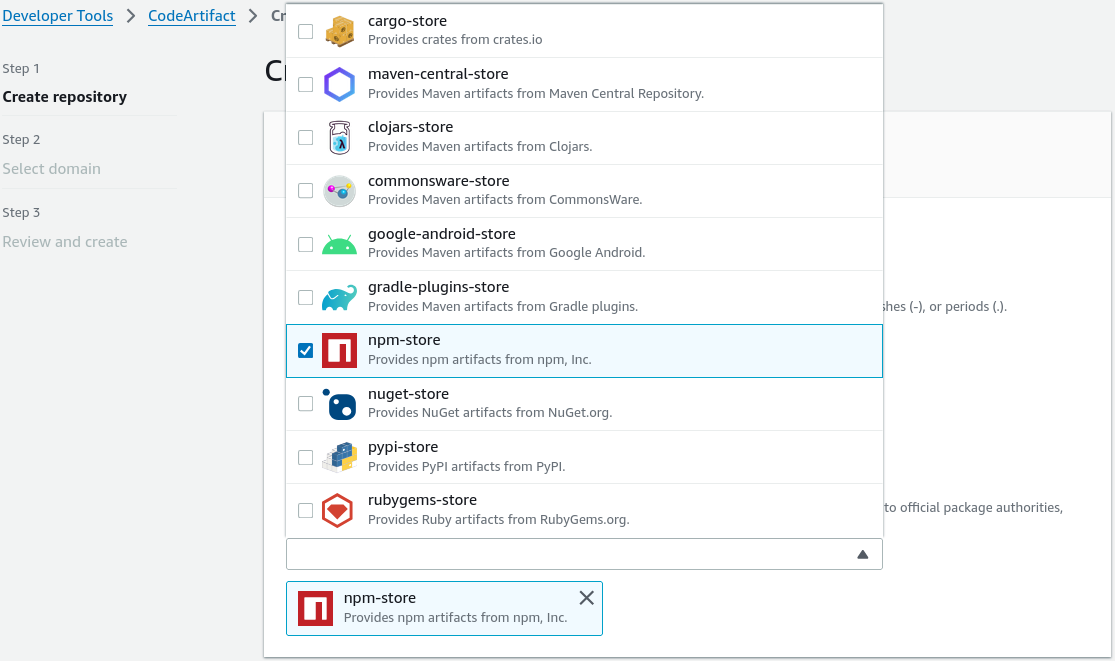
DemoRepository. - Bind the Public Proxy Pipeline: Under the Upstream repositories options card, select the checkbox for
npm-store(Node Package Manager). Cloud Infrastructure Context: This automatically chains your private repository downstream from a managednpm-storecache bucket, which links directly to the public npm registry! Hit Next.
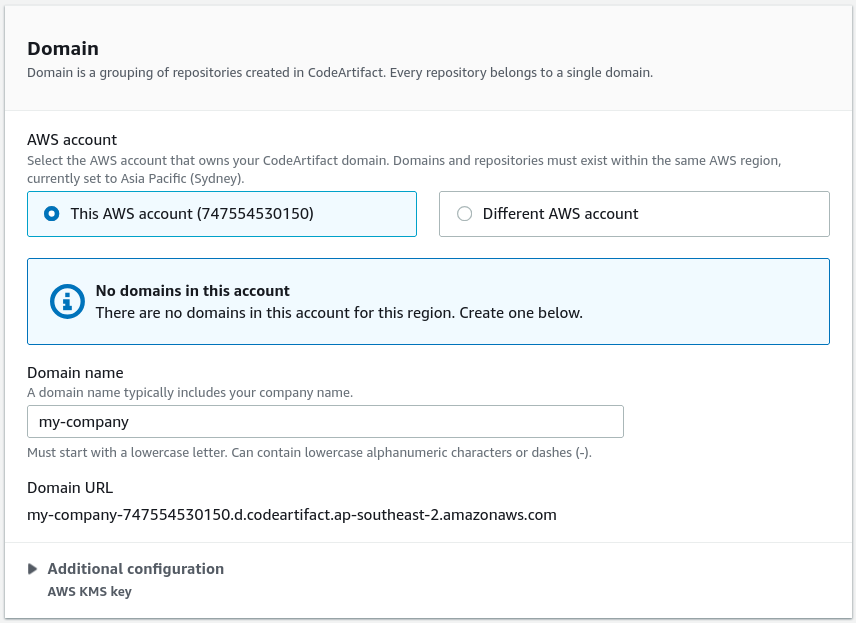
- Establish the Corporate Domain Umbrella:
- Under the domain assignment configuration, check This account.
- Name the global organization domain block parameter:
my-company. - Keep the security tier pinned to the default AWS managed key under AWS KMS for automatic, transparent data-at-rest encryption.
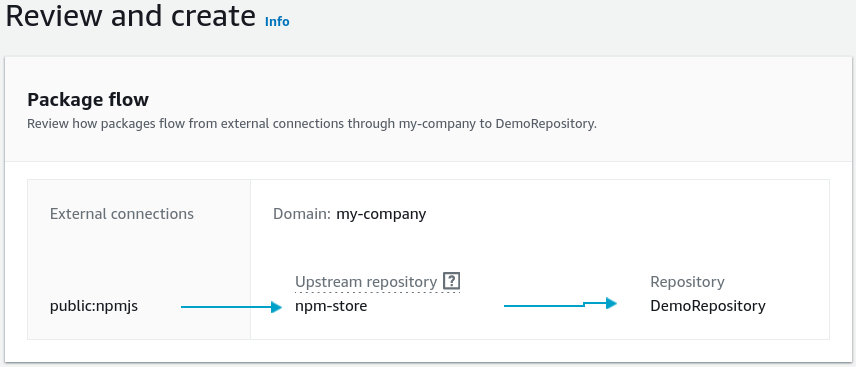
- Bake the Artifact Workspace: Click Next to audit your structural mapping flow schema, and click Create repository. The console spins up both your custom
DemoRepositoryand its upstreamnpm-storeproxy engine simultaneously.
📡 2. Programmatic Setup via AWS CloudShell
- Open the Terminal Line: Click the terminal symbol on the top console nav bar to spin up an interactive AWS CloudShell instance.
- Generate the 12-Hour Access Key: Head back to the CodeArtifact dashboard, click your
DemoRepositoryprofile ──► click View connection instructions ──► choosenpmas your tool variant lane. Copy the authorization token generation script, and drop it into CloudShell:
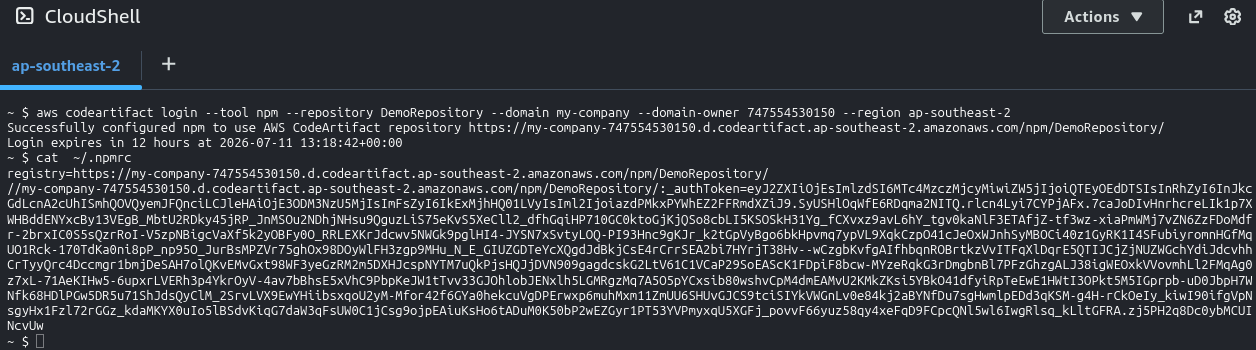
aws codeartifact login --tool npm --repository DemoRepository --domain my-company --domain-owner 747554530150 --region ap-southeast-2
DevOps Blueprint Fact: The login command automatically generates a short-lived 12-hour cryptographic token, injects it into your local .npmrc config file, and sets the registry endpoint to point directly to your private CodeArtifact repository.
🧪 3. Testing Ingestion, Caching, and Version Pinning
-
Fetch a Public Dependency Asset: Command your terminal runner to pull a standard open-source library down the line:
npm install nodemon
CloudShell queries your private CodeArtifact endpoint. Because the package isn't stored locally yet, the proxy engine leaps out to the public npm registry, pulls the latest edition, caches the sharded binaries permanently inside your my-company domain, and downloads it to your machine!

-
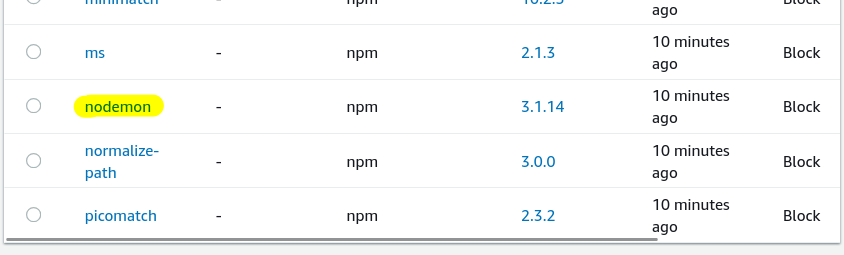
Verify the Cache Footprint: Head back to the console, refresh your
DemoRepositorypackages list panel, and witness the magic, bro. You see thenodemonpackage along with every single internal sub-dependency library it maps to sitting cleanly in your cloud store!
-
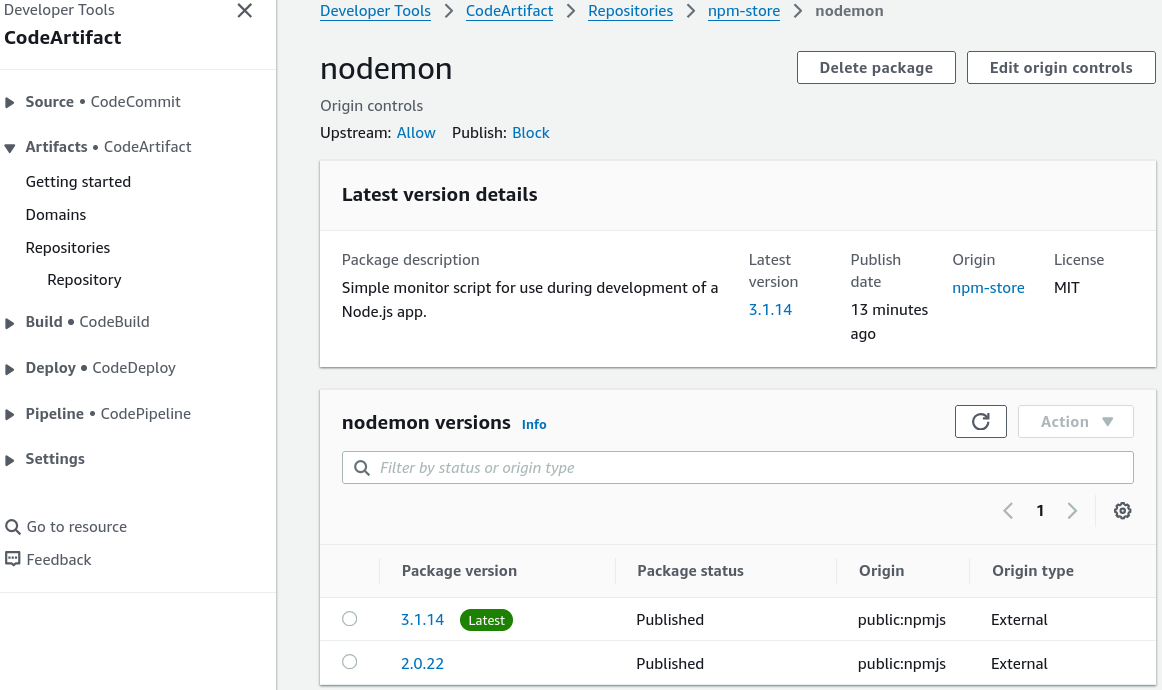
Pin an Older Target Release Version: Simulating a legacy code requirement, force an install of an older release branch variant down the wire:
npm install nodemon@2.0.22
Refresh the repository packages layout again, chief. CodeArtifact dynamically stacks your package versions side-by-side. You now hold permanent, immutable internal access to both 2.0.22 and 3.1.13 releases safely protected from any future public internet deletion drops.
🔏 4. High-Level Perimeter Governance Audit
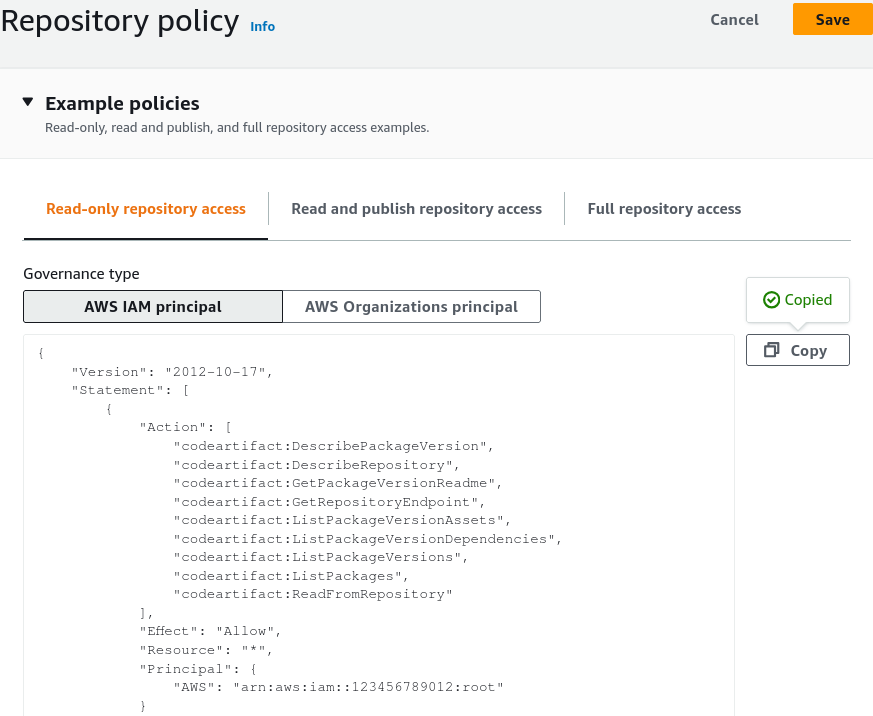
- Repository Resource Policies: Inside your repo dashboard settings, check out the Repository policy tab. You can instantly select template blocks like Read-only access or Cross-account access. This allows you to attach JSON resource policies to let external AWS accounts read your assets—remembering that access scales strictly at the repo boundary (principals can read all internal packages, or absolutely none).
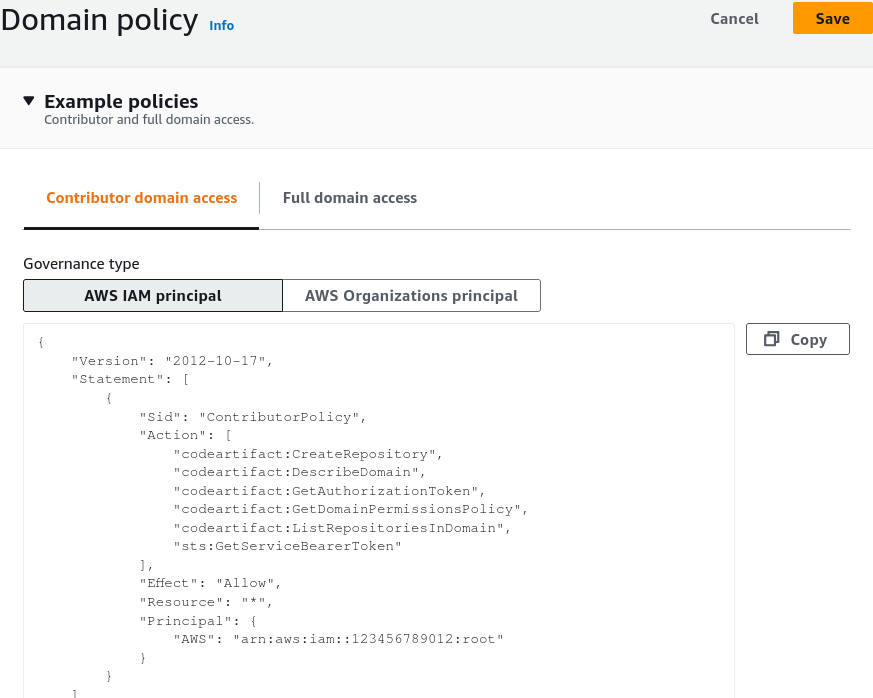
- Domain Policies: Navigate one step up to the Domain dashboard settings pane. This is where you can inject structural policies to grant secondary accounts cross-account access to execute
codeartifact:GetAuthorizationTokencalls, creating secure organizational build hubs across your entire corporate account mesh!
5. Project Clean-Up
WIPE OUT RUNNING FOOTPRINTS: To ensure zero residual asset testing costs hit your account, cleanly tear down your temporary playground stack before logging off, chief:
- Go to your Repositories list ──► select
DemoRepository──► hit Delete. - Select the automatically built
npm-storeupstream repo ──► hit Delete. - Click into the Domains tab layout ──► select your
my-companydomain ──► hit Delete domain.