AWS Amplify - Hands On
Stephane’s walk-through exposes how Amplify abstracts away the painful parts of full-stack engineering. By connecting a repository to Amplify, the platform automatically initializes continuous deployment, provisions underlying AWS CDK / CloudFormation stacks behind the scenes, and wires up live database viewers without you having to configure a single IAM trust policy manually!
Hands On
Let's walk through a live AWS Amplify hands-on deployment from Git clone all the way to full-stack cloud provisioning.
🎛️ 1. Connecting the Source Repository & Bootstrapping Stacks
- Fork the Template: Clone the sample React application template repository directly into your own GitHub account.
- I chose a Next.js (App Router) template, as it's the most I'm familiar with, here's the link to the template repo amplify-next-template.
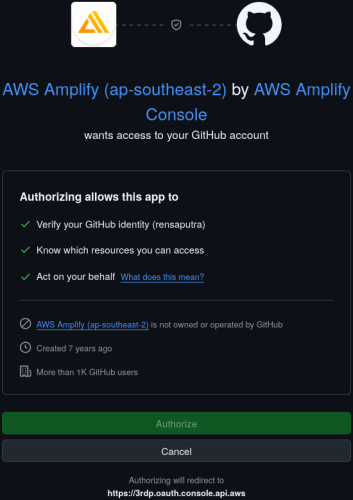
- Authorize the Pipeline: Head into the AWS Amplify Console ──► hit Create new app ──► select GitHub as your source code provider. Grant Amplify permission to read your repository.
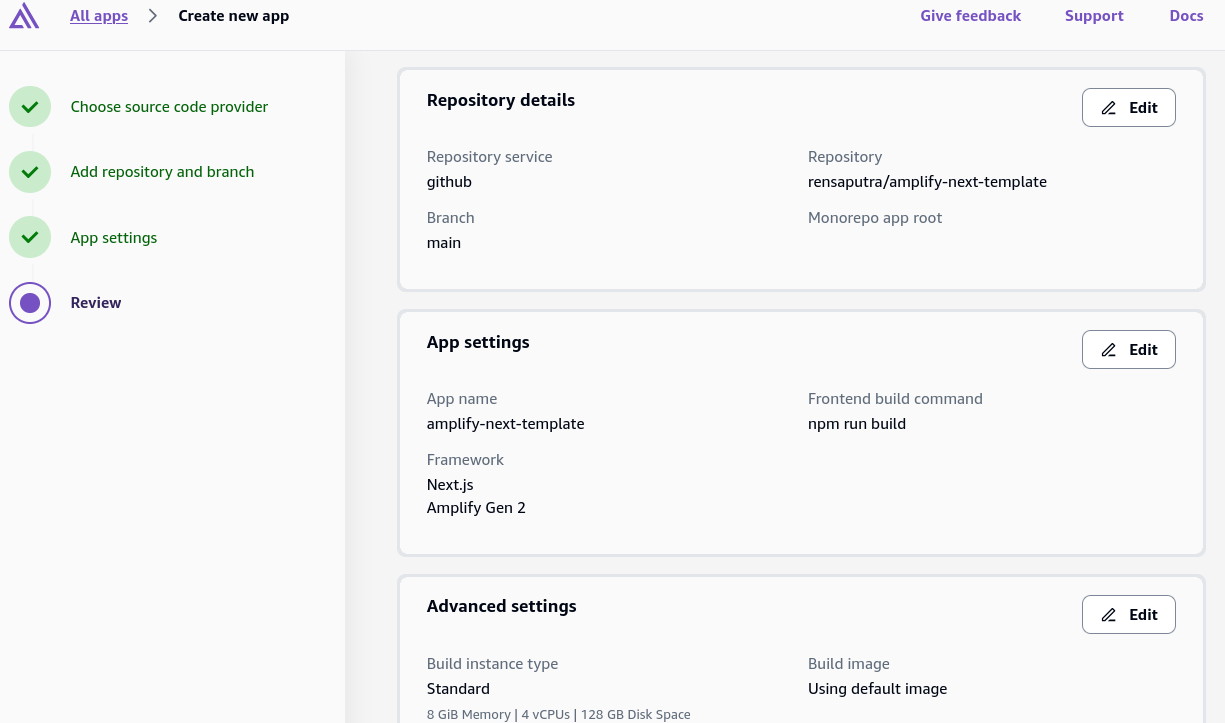
- Build Settings Setup: Select your cloned
amplify-vite-react-templaterepository ──► leave default build settings intact ──► authorize Amplify to auto-create an IAM Service Role. Hit Save and deploy.
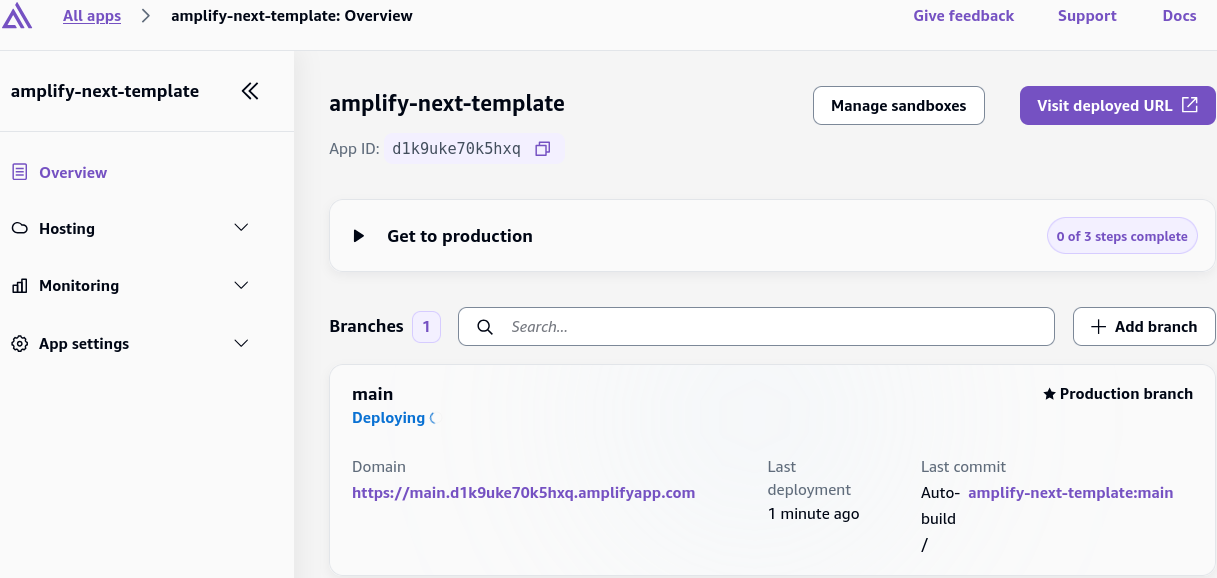
- Underlying Infrastructure Bootstrapping 🏗️: The exact millisecond deployment starts, Amplify triggers AWS CDK in the background. If you pivot to the CloudFormation Console, you will see a root stack alongside nested stacks automatically spinning up your frontend hosting and backend resources!
📊 2. Managing Data, Users, & Backend Storage
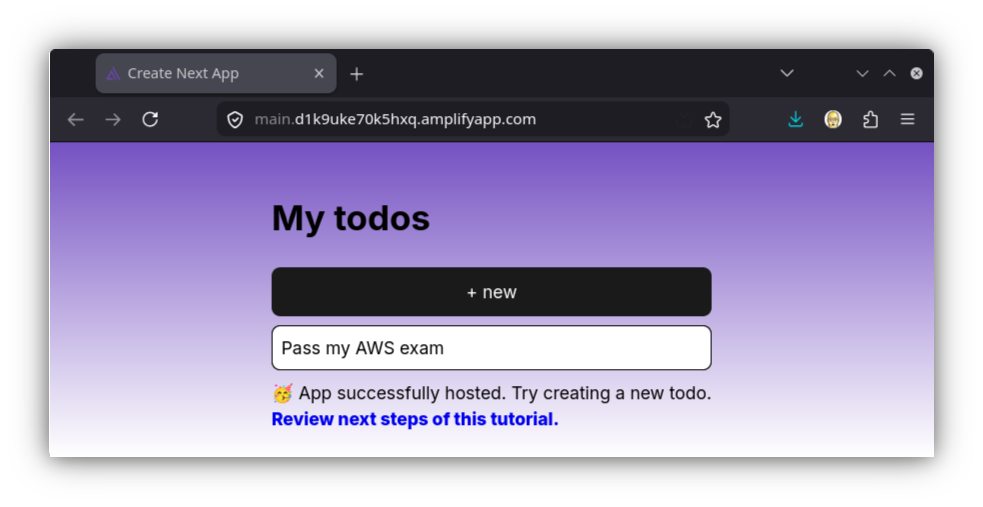
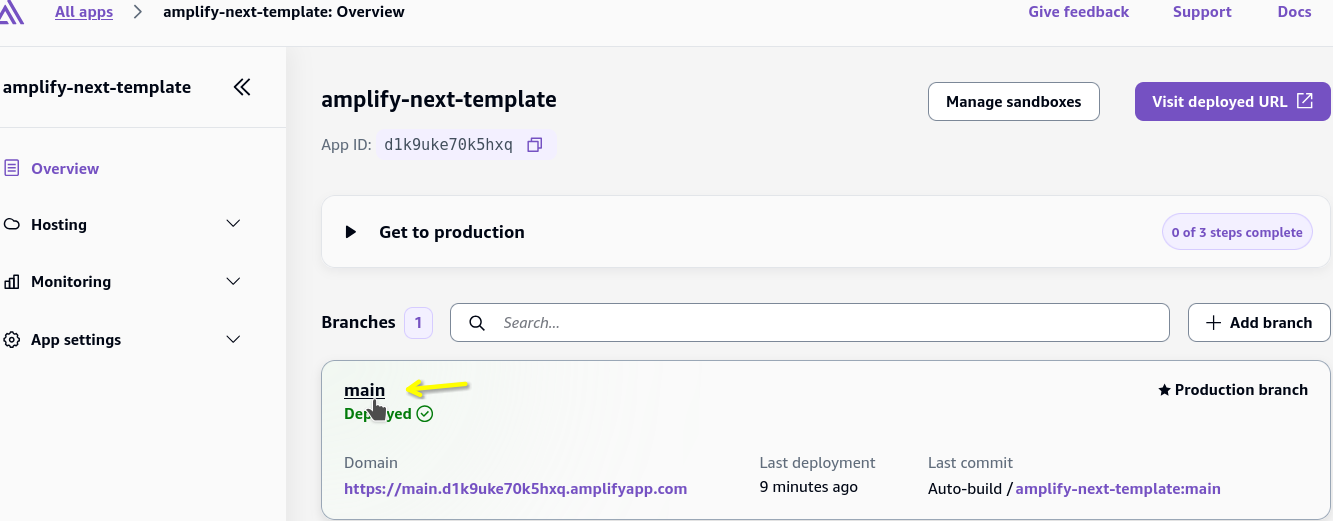
Once the build pipeline completes, click your generated live domain link (e.g., https://main.dXXXXXXXXX.amplifyapp.com) to test the app live! Drop in a few To-Do items (like "Pass my AWS exam").
Now jump back into the Amplify Console (Production Branch view) to explore the management drawers:
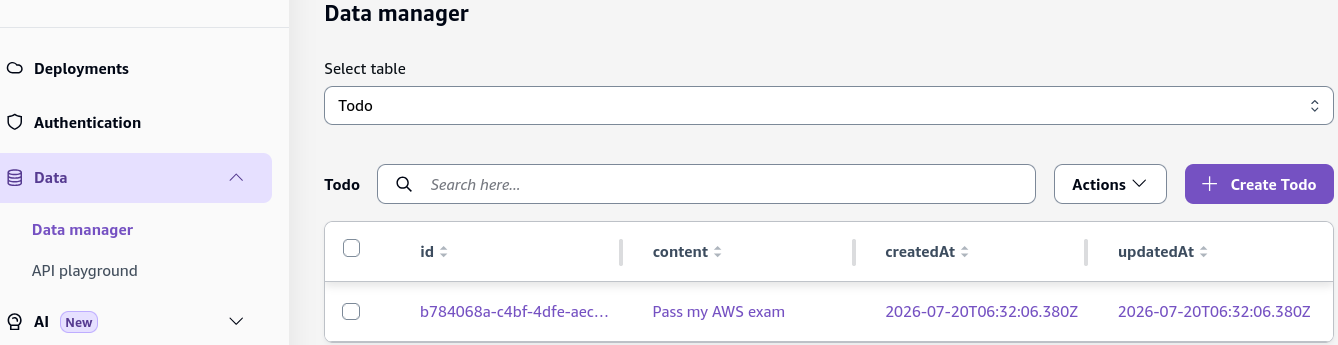
- Data Manager (DynamoDB Direct) 📊: Click into the Data tab. Amplify provides an out-of-the-box visual administrative drawer where you can view, edit, or create new To-Do records live! Behind the Scenes: Open the Amazon DynamoDB Console to confirm that Amplify built a dedicated
TodoTablewhere your items sit securely with unique primary keys.
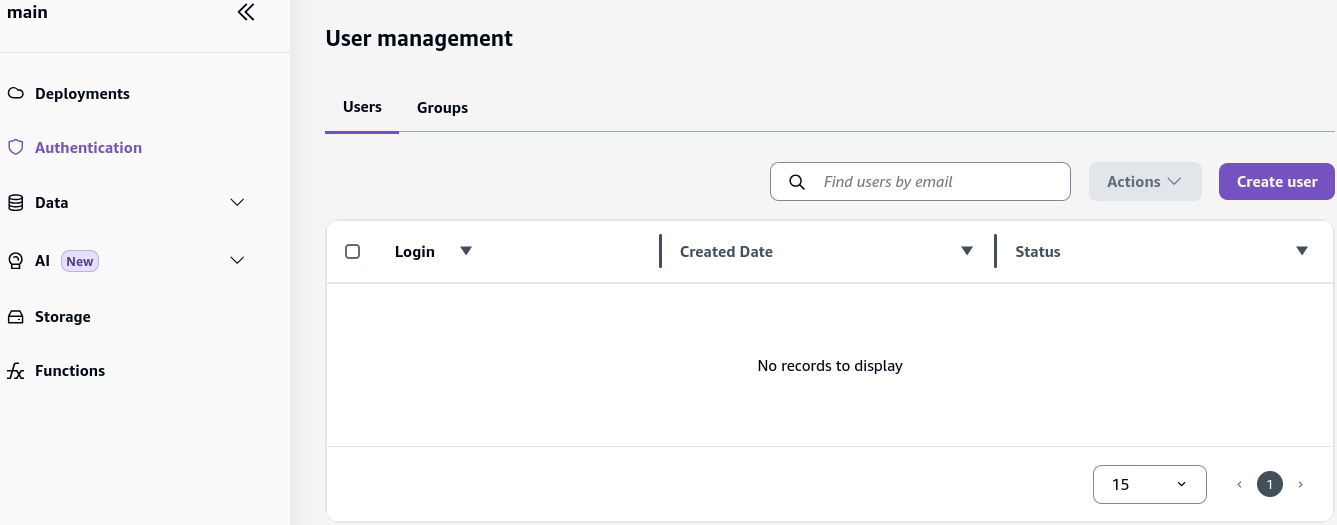
- User Management (Cognito Integration) 👥: The central identity drawer. Adding authentication to your app routes straight through here, backing your user sign-ups and security policies with Amazon Cognito User Pools.
- Storage & Functions (S3 & Lambda) 📁: Provides abstract management panels for file storage (backed by Amazon S3) and custom backend business logic functions (backed by AWS Lambda).
🧹 3. Clean-Up Protocol
When testing finishes, keep your playground account squeaky clean:
- Go to App Settings inside the Amplify Console ──► General ──► hit Delete app to wipe all linked CloudFormation and CDK stacks.
- Jump over to your GitHub account settings, scroll to the bottom of the repository settings page, and hit Delete repository to complete the teardown!
Exam Tips
Always remember for scenario-based questions that while Amplify feels like magic, every single backend resource created inside Amplify is explicitly represented as standard Infrastructure as Code (IaC) via AWS CDK and CloudFormation stacks! If your DevOps team needs to inspect, extend, or enforce compliance rules on Amplify backends, they can easily export the CDK constructs straight into existing corporate CI/CD pipelines.