EC2 Hands-on
Okay, time to level up our EC2 knowledge with launching our first instance, it is a huge milestone in our AWS journey!
Key takeaways
- The Launch Essentials (The Setup): First of all go to EC2 Dashboard and click on Launch Instance
- AMI (Amazon Machine Image): Think of this as our OS template. Stephane used Amazon Linux 2, however when I'm doing this course, Amazon Linux 2023 is the default, so I went with that one. Amazon Linux is AWS-optimized flavor of Linux and free tier eligible.
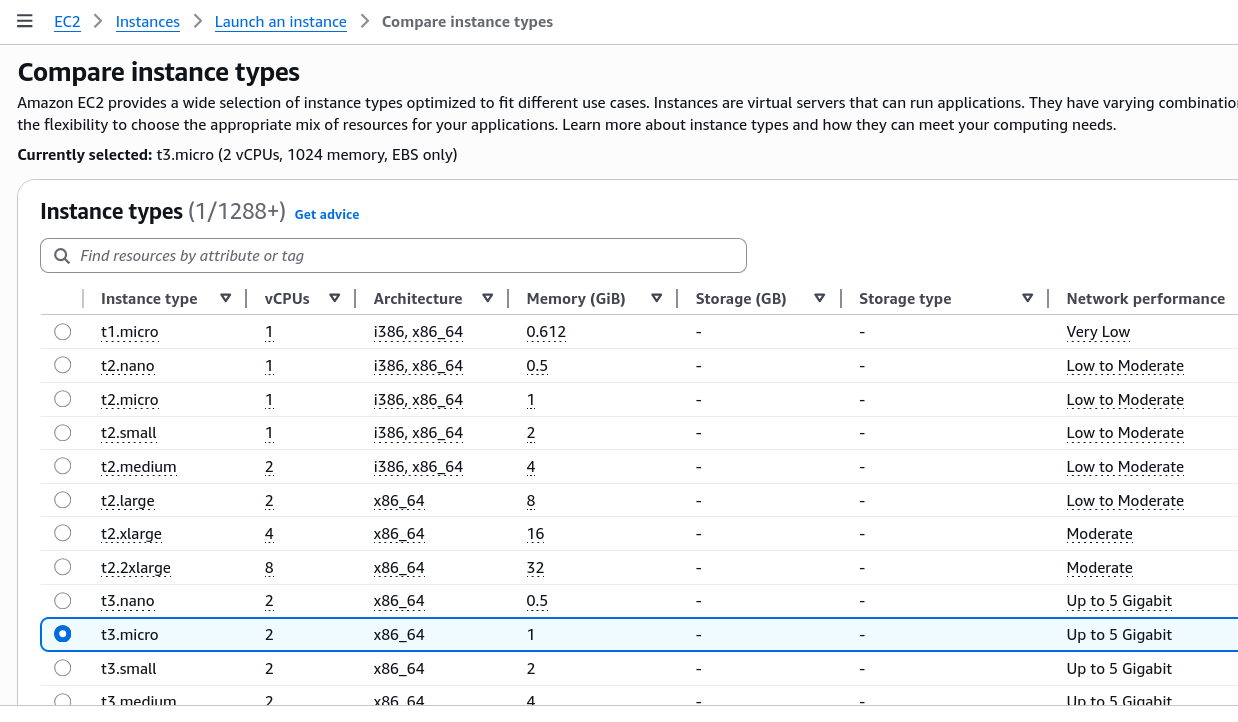
- Instance Type: Choosing the "size" of the VM. The t2.micro or t3.micro is the MVP of the free tier.
- Key Pairs: Essential for SSH access. It's like a password, but way more secure. You create a key pair, download the private key, and AWS keeps the public key. When you SSH into your instance, it checks if you have the right private key. Download the
.pemfile (Linux/Mac/Windows 10) or.ppkfile (older Windows).
- Networking & Security:
- Public vs Private IP: Public IP allows you to access your instance from the internet, while Private IP is for internal communication within AWS. For our first instance, we want a public IP so we can SSH into it.
- Security Groups (Firewalls): You have to explicitly open "ports" to let traffic in.
- Port 22 (SSH): To log in and manage the server.
- Port 80 (HTTP): To let people actually see your website
- User Data:
-
We passed a script into the field.
User Data Script#!/bin/bash# Use this for your user data (script from top to bottom)# install httpd (Linux 2 version)yum update -yyum install -y httpdsystemctl start httpdsystemctl enable httpdecho "<h1>Hello World from $(hostname -f)</h1>" > /var/www/html/index.html -
Rule: The Script runs once and only once at the very first boot
-
What it does: It automatically updated the system, installed a webserver (
httpd), started it, and created "Hello World" page. This is called bootstrapping.
-
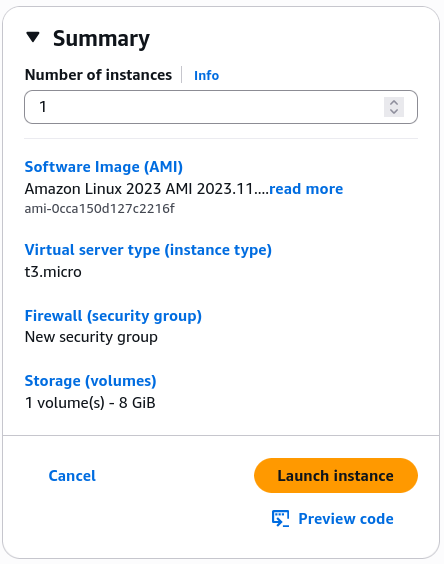
Summary of the instance before launching it.
- Lifecycle Management:
- Stop: This is like shutting down our computer. We stop paying for the "compute" (CPU/RAM), but we still pay for the storage (the EBS volume) because our data is still there.
- Start: Wakes it back up. Remember, when you start it again, it might get a new public IP, unless we have an Elastic IP (which is a static public IP).
- Terminate: This will deletes the instance forever. By default, the root EBS volume is deleted too.
- Pro tip: If the website doesn't load, make sure to access the IP address using
http://as we haven't setup SSL certificate yet + https is disabled.